Download windows11.io
Step into the next generation of Windows. Faster, smarter, and designed around you.
Download Now Contact Support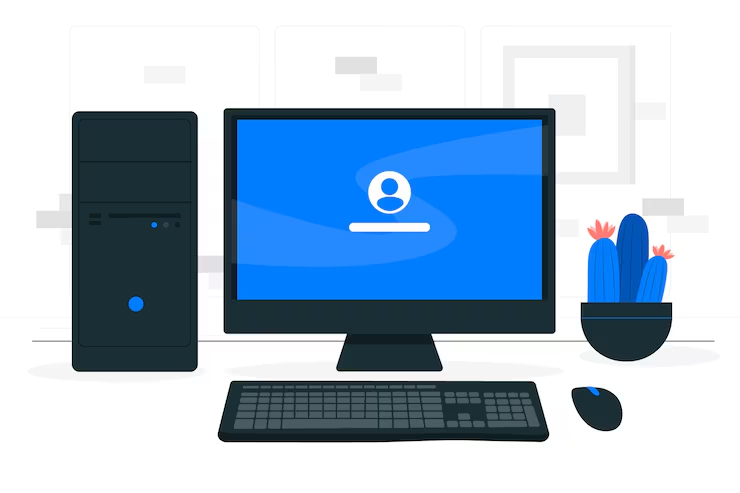
Built for today. Ready for tomorrow. If your device runs Windows 11, chances are you are already good to go.
Fresh, modern, and fully customizable. Smoother animations, cleaner layouts, and themes that fit your style.
Boot up in seconds. Work without slowdowns. Windows 11 is optimized to stay fast, efficient, and reliable always.
Multitasking made effortless. From improved Office integration to smarter task management, Windows 11 helps you get more done in less time.
You are in control of your data.New privacy dashboards, clear permissions, and transparency features give you peace of mind.
Your OS just got intelligent. AI-powered search, smart suggestions, and context-aware assistance adapt to the way you work.
Game without limits. Experience higher frame rates, reduced latency, and seamless compatibility with the latest hardware.

Experience innovation anew with Windows 11 – where productivity meets seamless performance.
Elevate your digital experience with Windows 11 – now available for download, unlocking endless possibilities.
Explore the future of computing with Windows 11 Beta – unlocking innovation and limitless potential in every click.
Unlock continuous innovation with the Windows 11 Subscription – your gateway to seamless updates and cutting-edge features.
Discover the future with modern hardware requirements and unparalleled user experience.
Redefining possibilities with innovative features, seamless integration, and unparalleled user experience.
Tailored solutions for every user, from seamless home computing to advanced professional productivity.
Are you a software update? Because meeting you would feel like upgrading to Windows 11 – an irresistible improvement.
Empowering users with knowledge, we're your go-to source for all things Windows 11. Stay informed, stay ahead.
From setup to mastery, we're here to guide you through seamless installation and beyond with Windows 11.
Stumbling upon errors? Let us be your guide, swiftly resolving issues and ensuring your Windows 11 experience remains seamless.
Clients
Projects
Hours Of Support
Hard Workers
Follow these complete steps to download, install, and set up Windows 11 on your device.
Go to official website and download the Windows 11 Installation Assistant or ISO file.
Ensure your PC meets Windows 11 requirements (TPM 2.0, Secure Boot, RAM, and CPU compatibility).
Create a backup of your important files to OneDrive, an external drive, or cloud storage.
Use the Media Creation Tool to make a bootable USB (8GB+) or burn the ISO to a DVD.
Restart your PC, open BIOS/UEFI, and set the USB/DVD as the first boot option.
Choose language, edition, and installation type. Enter product key if required.
Set up your account, region, privacy settings, and preferences after installation.
Connect to the internet, activate Windows, and install updates for best security & performance.